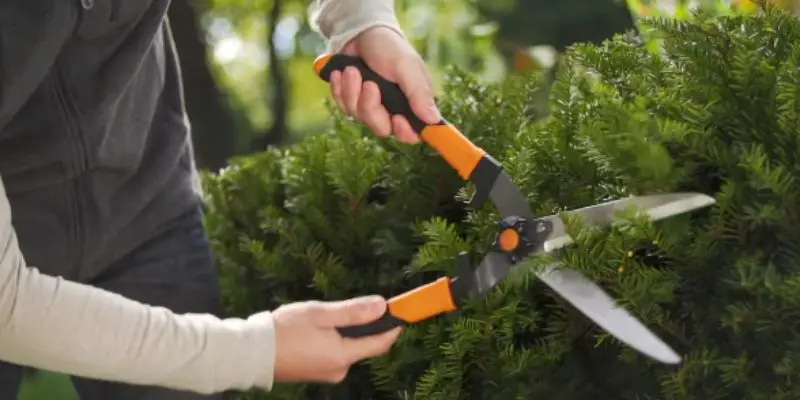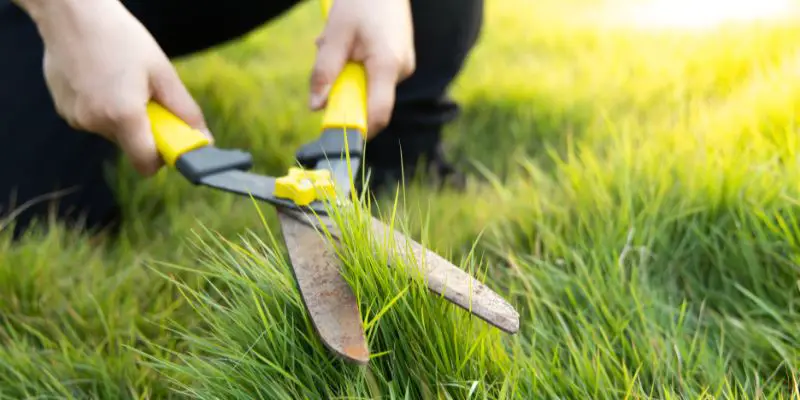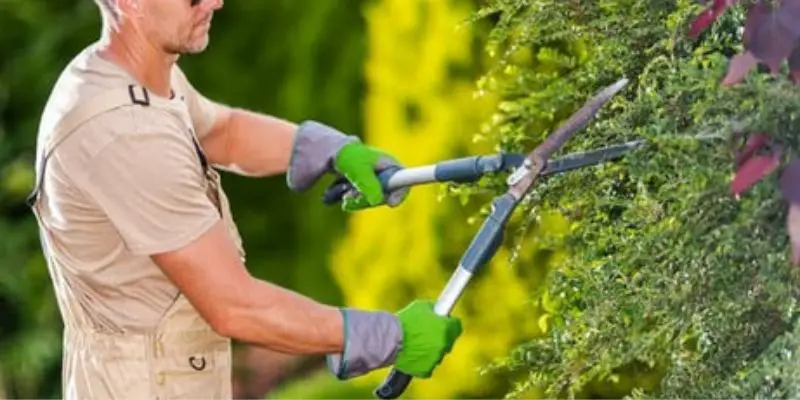
Garden shears are one of the most frequently used tools for gardeners. Pruning, trimming, and cutting plants requires blades that are razor sharp. But after repeated use, the edges become dull, making clean cuts more difficult. Learning how to keep garden shears sharp will maintain their performance and extend their lifespan. This in-depth guide covers everything you need to keep your bypass loppers, anvil pruners, and other cutting tools slicing like new.
Why Keep Your Garden Shears Sharp?
From rose pruners to hedge shears, all cutting tools need regular sharpening. Using dull blades requires you to use more strength while doing a subpar job trimming plants. Blunt edges also increase the risk of damaging stems by crushing or tearing rather than making clean slices. Taking time to regularly sharpen your garden shears will make tasks easier while promoting plant health.
There are several methods for sharpening gardening snips and shears at home. You’ll need the right sharpening tools and proper technique. Sharpening is recommended before each season of heavy use and as needed throughout the year. Learn the signs your shears need sharpening, steps for DIY sharpening, and tips for proper maintenance. Keep reading to discover everything you need to know to keep your garden shears performing like new.
Signs Your Shears Need Sharpening
How do you know when your pruning shears or loppers need some sharpening TLC? Here are signs it’s time to restore your cutting edges:
- Effort required – Having to squeeze very hard indicates dull blades. Sharp shears cut easily.
- Ragged cuts – The blades crush and tear rather than slicing cleanly.
- Stems slip – Dull blades don’t grab stems well and the material slips out when cutting.
- Dried sap – A gummed up buildup of sap prevents smooth cuts.
- Nicks in the blades – Jagged edges won’t make precise cuts.
- Rust spots – Pitted, corroded areas need to be removed.
- Dents or chips – Deformations keep edges from aligning correctly.
If you notice any of these issues when trimming, it’s time to sharpen your garden shears. Sharpening is also recommended before spring growth starts and after any heavy pruning projects. Staying on top of maintenance will have your shears operating like new.
Sharpening Tools Needed
Before we get to techniques, here are the sharpening tools you’ll need:
Whetstones
Whetstones, also called sharpening stones, are rectangular blocks used to grind metal. Coarser grits cut metal faster while finer grits sharpen to a smoother polished edge. A combination stone with coarse and fine grit sides is ideal for garden tools.
Diamond File
Diamond coated metal files can quickly sharpen blades or refresh edges between uses. They come in flat, round, and curved shapes to fit tool surfaces.
Sandpaper
Sheets of waterproof sandpaper in 80 to 600 grit can be wrapped around blades for sharpening. Secure with tape or a clamp.
Sharpening Rod
A ceramic or diamond impregnated steel rod hones an edge. Draw blades along the rod using an angle guide.
Grinder
For major repair, a bench grinder removes chips and reforms beveled edges. Not for routine sharpening.
Now let’s go over how to use these sharpening tools to restore your cutting edges.
How to Keep Garden Shears Sharp – Sharpening Techniques
Here are step-by-step instructions for the main methods of sharpening your garden shears at home:
Using a Whetstone
- Disassemble the shears. Remove any handles or locks to expose the pivot bolt and blades.
- Secure in a vise or clamp so blade is horizontal and stationary.
- Align the beveled blade diagonally against the whetstone at a 20° angle. Face the cutting edge down.
- Apply moderate pressure and drag the length of the blade across and off the whetstone. Move from heel to tip in one smooth motion.
- Repeat on the fine grit side. Take care to maintain a consistent bevel angle.
- Flip blade and repeat on the opposite side. Goal is an even, tapered cutting bevel.
- Reassemble shears and test cut performance. Repeat sharpening if needed.
With Sandpaper
- Disassemble shears and remove any handles. Secure blade tip in a vise.
- Wrap coarse grit sandpaper around blade, rough side facing edge. Secure with tape or clamp.
- Holding sandpaper end, work it back and forth along the blade surface using moderate pressure.
- Progress through finer grits of sandpaper until edge is polished.
- Repeat process on opposite side of blade. Reassemble shears when finished.
Using a Diamond File
- Diamond files can be used without disassembling shears. Extend blades fully open.
- Lay file flat against beveled surface and stroke evenly from base to tip. Use light pressure.
- Work slowly across entire edge. Turn file over and repeat on opposite side.
- Use smooth file strokes. Ten strokes per side is usually sufficient.
- A round file can sharpen inside edges of bypass pruner blades.
With a Sharpening Rod
- Open shears and rest one blade against rod, above horizontal. Maintain 15-20° angle.
- Draw blade down along rod away from your body using gentle pressure.
- Flip shears over and repeat for other side. This realigns and straightens the cutting edge.
- Use a ceramic rod for light honing. Use a diamond rod for heavier sharpening.
- Can refresh blade edges in the field. More thorough sharpening still needed periodically.
These methods allow sharpening garden shears without specialist tools. Let’s now go over some tips for doing it right.
Sharpening Tips and Techniques
Follow these tips for effective, efficient sharpening:
- Use proper angles – Maintain the bevel angle, usually 20-30°. Don’t sharpen too steep.
- Alternate sides – Switch sides with each pass to prevent uneven edges.
- Let the tool work – Use light pressure. Don’t force the edge against the stone.
- Mind your fingers – Keep hands clear of the cutting edges at all times.
- Work the entire edge – Sharpen from base to tip to avoid rounding the point.
- Clean frequently – Rinse sharpening stones to prevent metal buildup.
- Start coarse – If very dull, start with coarse grit and work up to finer polishing grits.
- A keen edge isn’t shiny – Reflective metal means overheating. Stop immediately.
- Cut into paper – Slice paper cleanly to test if edges are truly sharp.
- Repeat as needed – Several rounds of sharpening may be required to renew edges.
Proper sharpening takes patience but it will restore the smooth cutting ability of your gardening shears. A few additional tips will keep them performing at their best.
Ongoing Maintenance
To extend the sharpness and life of your cutting tools:
- Wipe and dry blades after each use to prevent corrosion.
- Lubricate pivot points with light oil periodically.
- Check alignment and tighten any loose fasteners.
- Replace heavily damaged or worn blades and springs.
- Store properly in a holster or wall mount, not on the ground.
- Clean sap and residue off regularly with detergent.
With routine sharpening and proper care, quality garden shears can stay sharp and last for decades. Learning how to sharpen your own tools saves money while ensuring your equipment operates at peak performance. Follow these tips and you’ll breeze through gardening tasks with slice-perfect cuts every time.
How to Keep Garden Shears Sharp – Final Thoughts
Keeping your gardening shears sharp is essential for easy, healthy plant trimming. Sharpening with whetstones, diamond files, or sandpaper removes nicks and restores clean cutting edges. Maintain proper bevel angles and alternate blade sides. Test cut paper to confirm sharpness. Periodic honing with a ceramic rod keeps edges aligned between sharpening sessions.
Proper storage, cleaning, and lubrication also prevents corrosion and excessive wear. Invest a little time upfront before each growing season to sharpen your shears, and you’ll reap benefits all year through easier, faster gardening tasks. Your plants will thank you too with perfectly pruned new growth.
Also read:

Michael Glenn is a certified arborist and horticultural expert with over 15 years of experience in the landscape industry. His passion for plants and trees has led him to become a sought-after authority on pruning and trimming techniques. Glenn’s in-depth knowledge of proper pruning methods, timing, and tools has helped countless homeowners and professionals maintain healthy, aesthetically pleasing gardens and landscapes.
In addition to sharing his pruning expertise through practical tips, step-by-step guides, and expert advice, Glenn is also a respected author of pruning tool buying guides. His comprehensive reviews and comparisons ensure readers can make informed decisions when investing in quality loppers, pruning shears, saws, and other essential equipment. With a deep understanding of plant biology and sustainable practices, Glenn’s writing empowers audiences with the knowledge needed to properly care for green spaces.